Foobar Build Log — 30% Keyboard
by Hunter Haugen
I like small keyboards, and currently use a 40% split 3×5+1 keyboard (modified GergoPlex with extra thumb keys removed) but wanted to go even smaller. The 30% scene has interested me ever since I first learned about the Gherkin, but for ergonomics reasons would only ever use a split full-time. I learned about a keyboard that is essentially a split Gherkin, and thought that that would make the perfect first-ever keyboard to solder together myself.
One of my coworkers had some extra PCBs that he offered up, and gave me a set of Foobar plates (the PCBs are reversible, so two identical plates with one reversed makes a full keyboard) and some other pieces needed to put it together. I ordered caps, switches, and controllers (one per half) and was ready for a weekend afternoon.
First, the finished pictures:
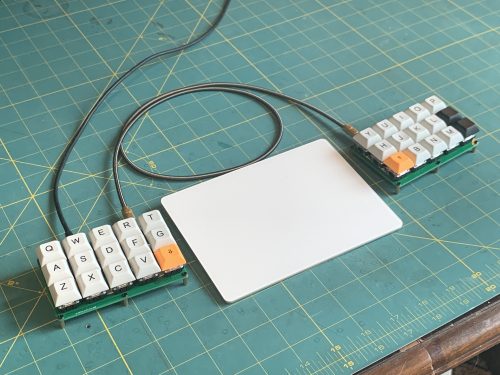
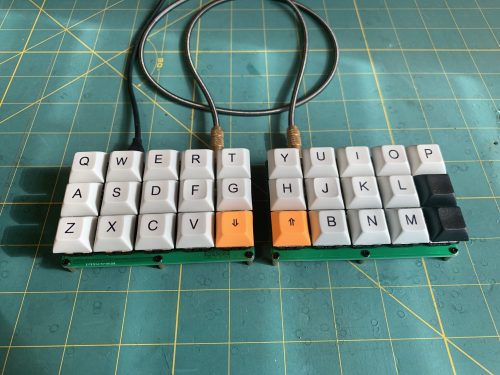
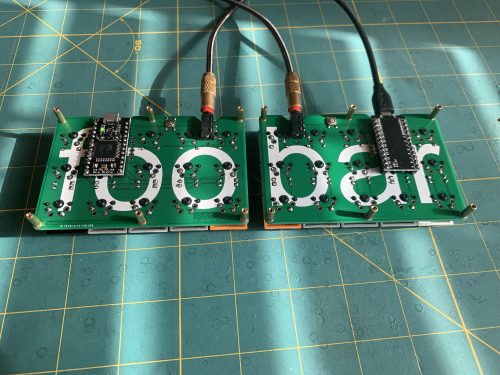
Onward with the build log! I got a fan set up to pull air out the window and a mask to avoid breathing the “poisonous smoke” as my kids call it.
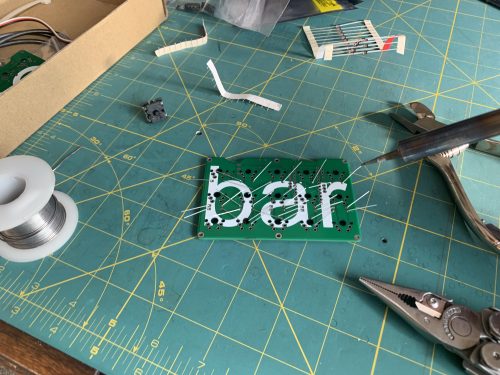
Got the 15 diodes in the left half. Diodes go on the same side of the PCB as the switches, and the black stripe end goes in the hole marked with a square contact pad. Took me forever to google that information, oddly. I later also figured out that I should bend the diode wires all the same direction (positive slant up, negative slant down for example) instead of random directions. Really helps with clipping after soldering, and not getting stabbed. There was blood. I failed to get a picture of said blood and had to take a break from the build to let the bleeding stop so I didn’t get anything on the components. Those clipped diodes are sharp as needles.
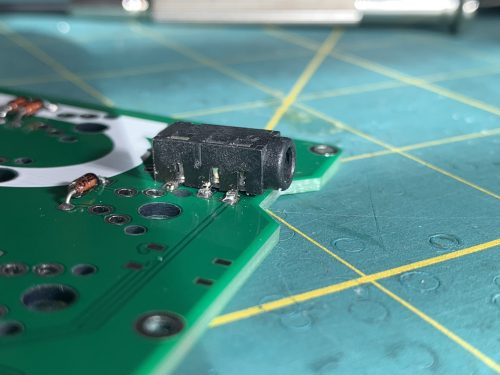
There were many opportunities for errors, though I only made one (obvious one). After soldering thirty diodes and clipping the wires, I wasn’t paying as much attention and soldered the TRRS on the wrong side. I didn’t have a solder sucker, so had to slowly heat one pad after another as I pried it up with tweezers millimeter by millimeter. I eventually got it off and didn’t burn or rip any of the pads. I tried the “heat it up and bang it on the table to knock solder off” but that didn’t work well enough. I hope I never have to desolder a promicro.
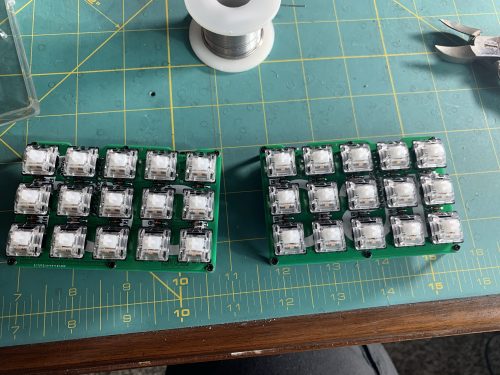
I dry fit the switches and realized that the Pro Micro standoffs would be blocked by the switches so pulled them back off to solder and clip the standoffs first. Then I realized that I had to solder switches on before the promicros otherwise THEY would be blocked. I was very happy to not have screwed that up.
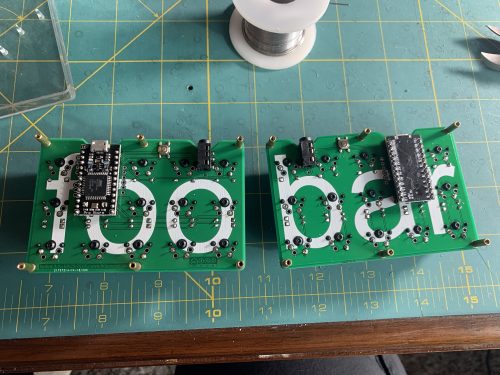
When soldering the reset switches, I learned that surface-mount components are waaay harder than they look. They slipped around more than a two year old on ice skates.
Interesting thing, after flashing with the default layout, I plugged the micro-usb into the wrong half and discovered that that mirrors the layout into YTREWQ. I could probably reverse the matrix or something to use the other usb port if one rips off tho.
This keyboard layout is really neat! I learned enough to type decently on it: Black keys are enter/esc when tapped and super/shift when held. Center keys are backspace/space tapped, and lower/raise when held. There are other mod-taps on C/V/B too, to pack everything in.
It’s common to use a Gherkin or an Alpha as a main board, so I figured why not this one too? I’ll probably have to re-learn qwerty, as Dvorak’s punctuation doesn’t lend itself to easy manipulation with the thumbs.
The default layout appears to be behind the default Gherkin layout a little bit, and both generally inferior to other layouts developed. Looking forward to figuring out something that works!